Cette publication est également disponible en :
![]() Français (French)
Français (French)
1 – Downloading and installing the Nextcloud client
To use the Nextcloud application, you need to download and install the software via this link: https: //nextcloud.com/fr/install/#install-clients
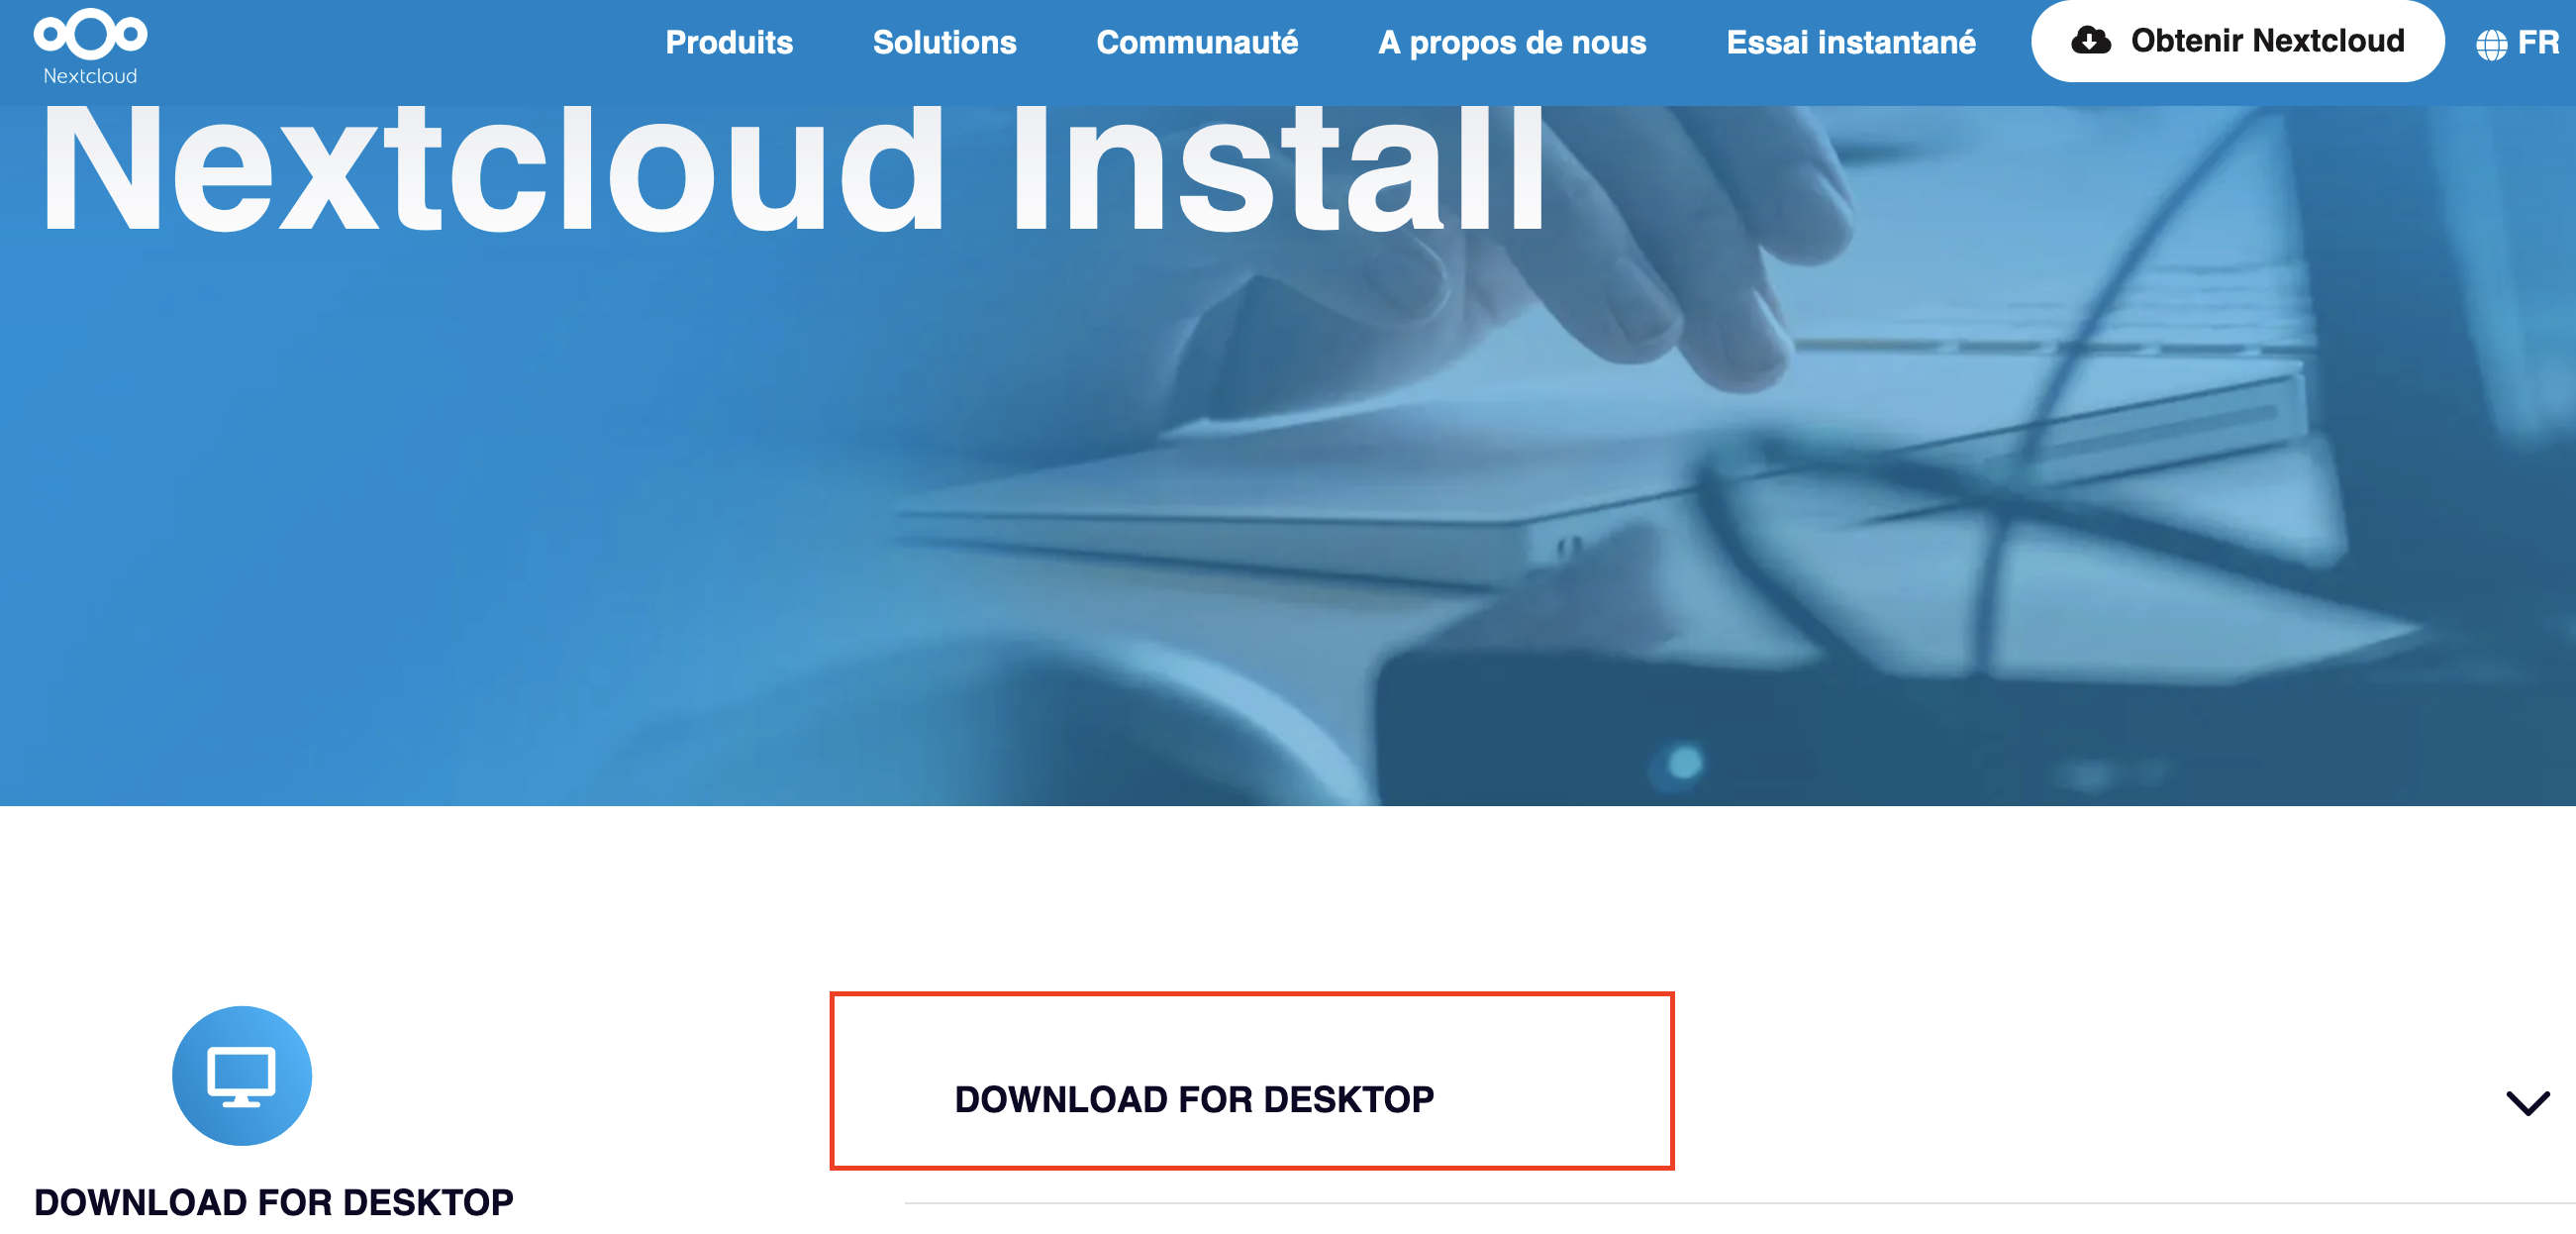
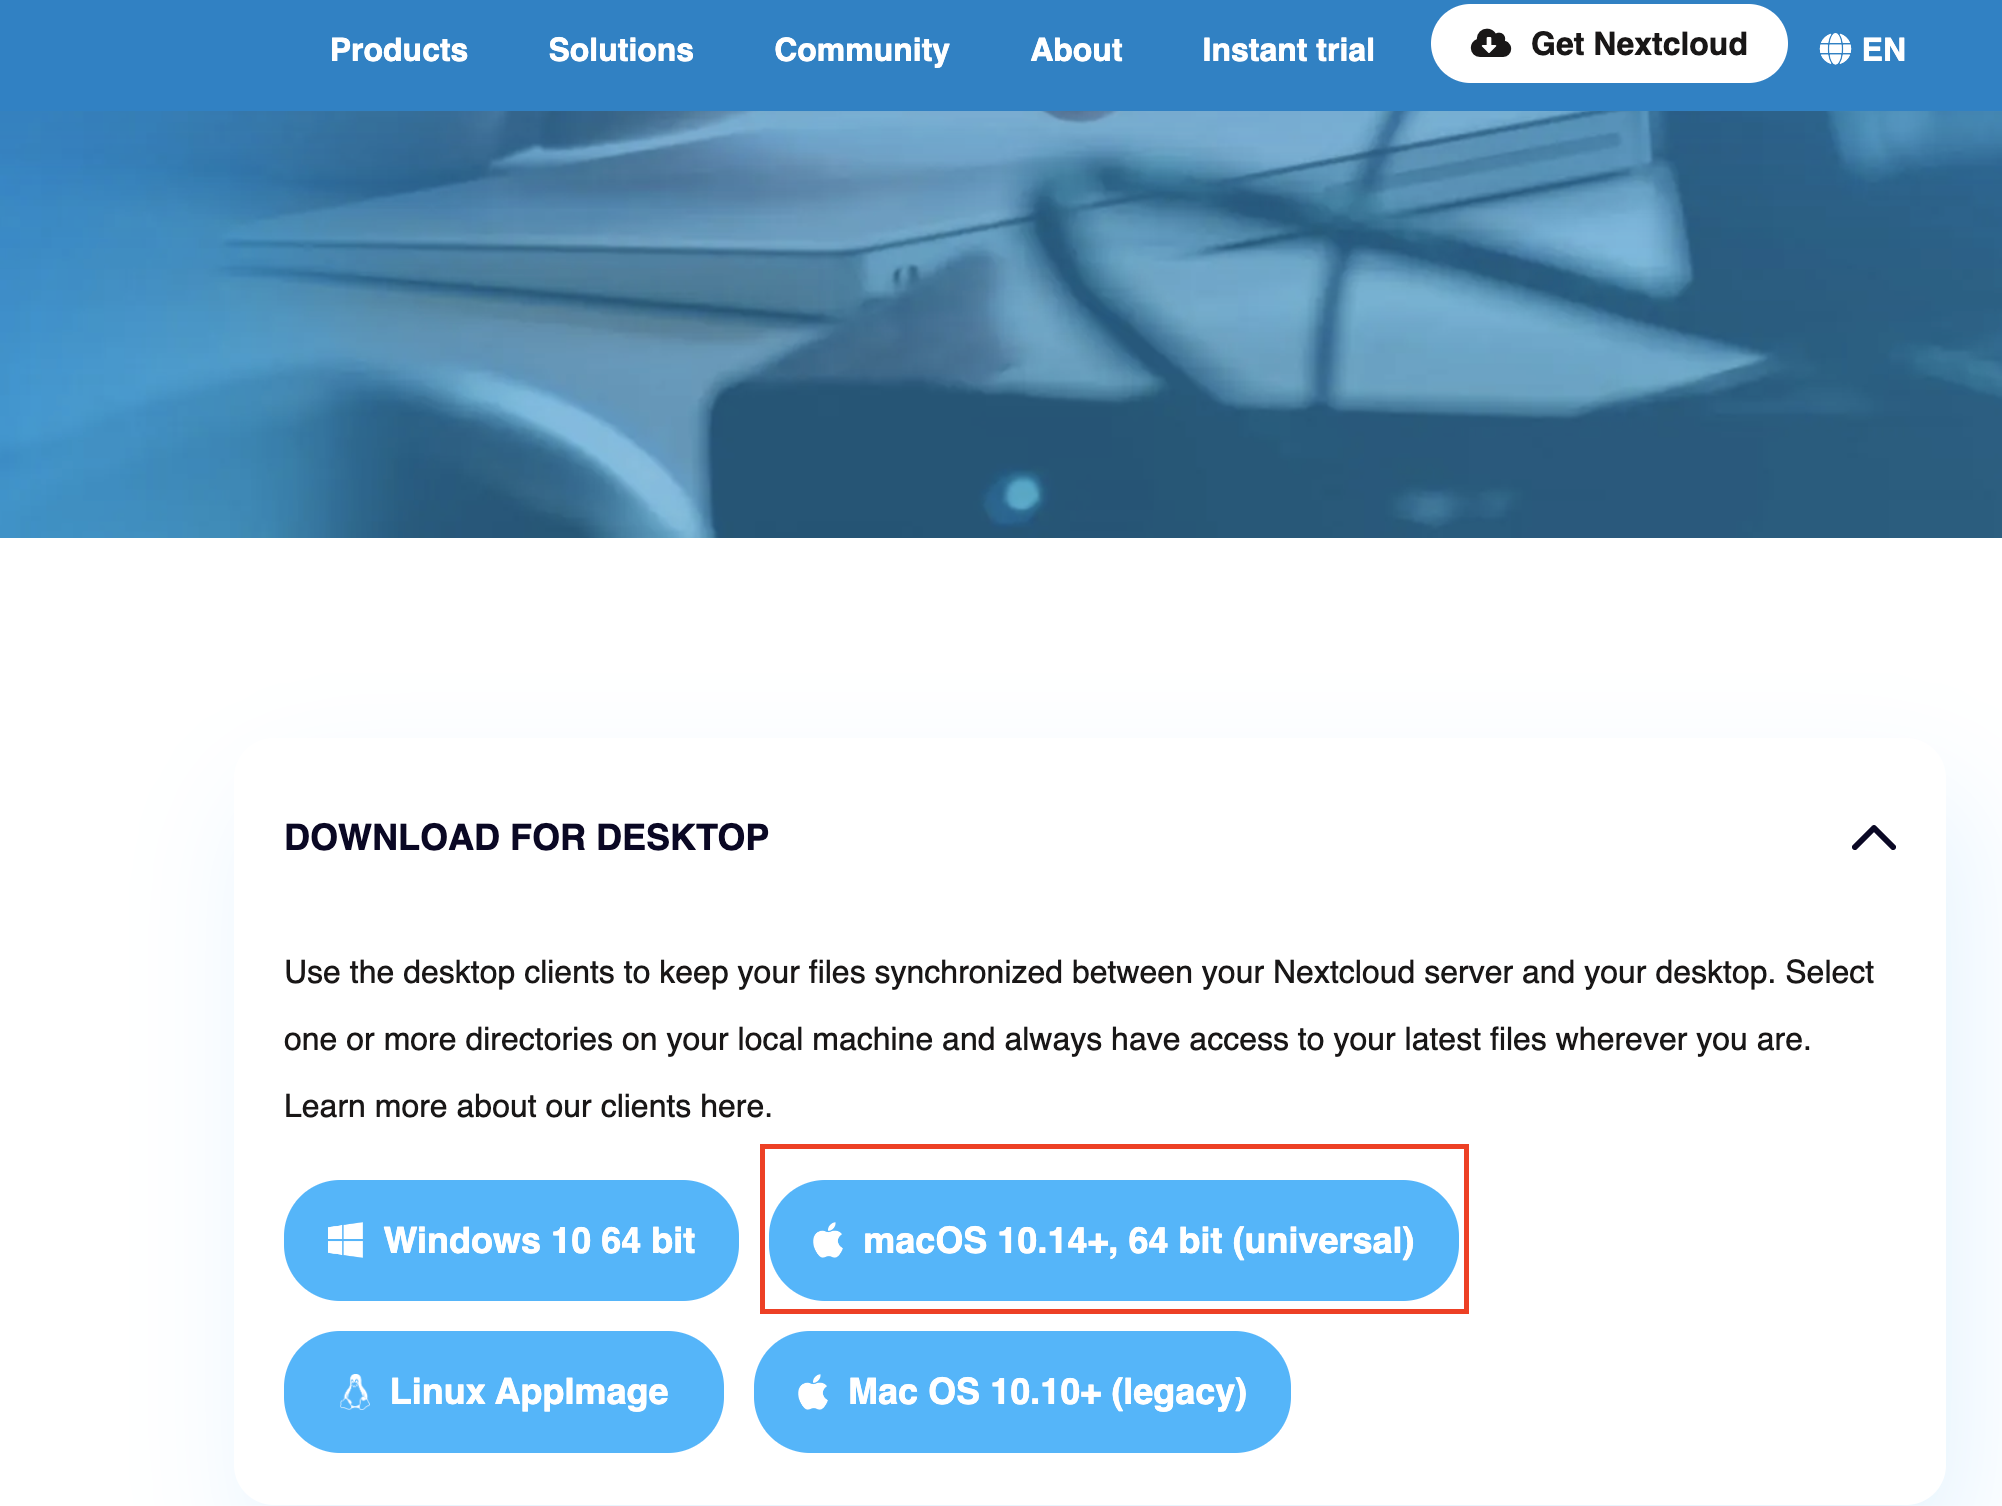
Once on the page, click on download for desktop then choose the version suitable for your computer:
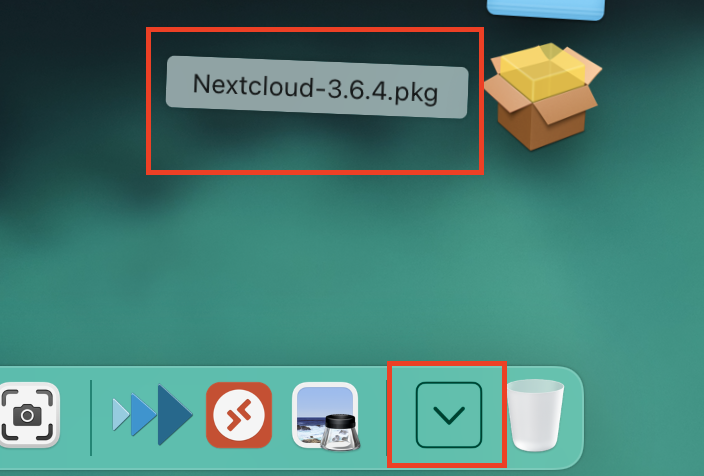
The executable will be in your download folder.
2 – Application setup
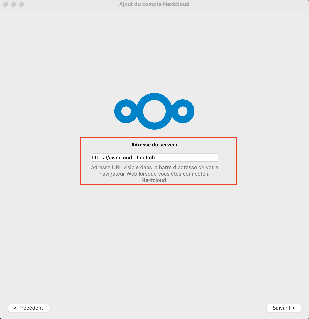
After installation, you can connect to your account by launching the application:
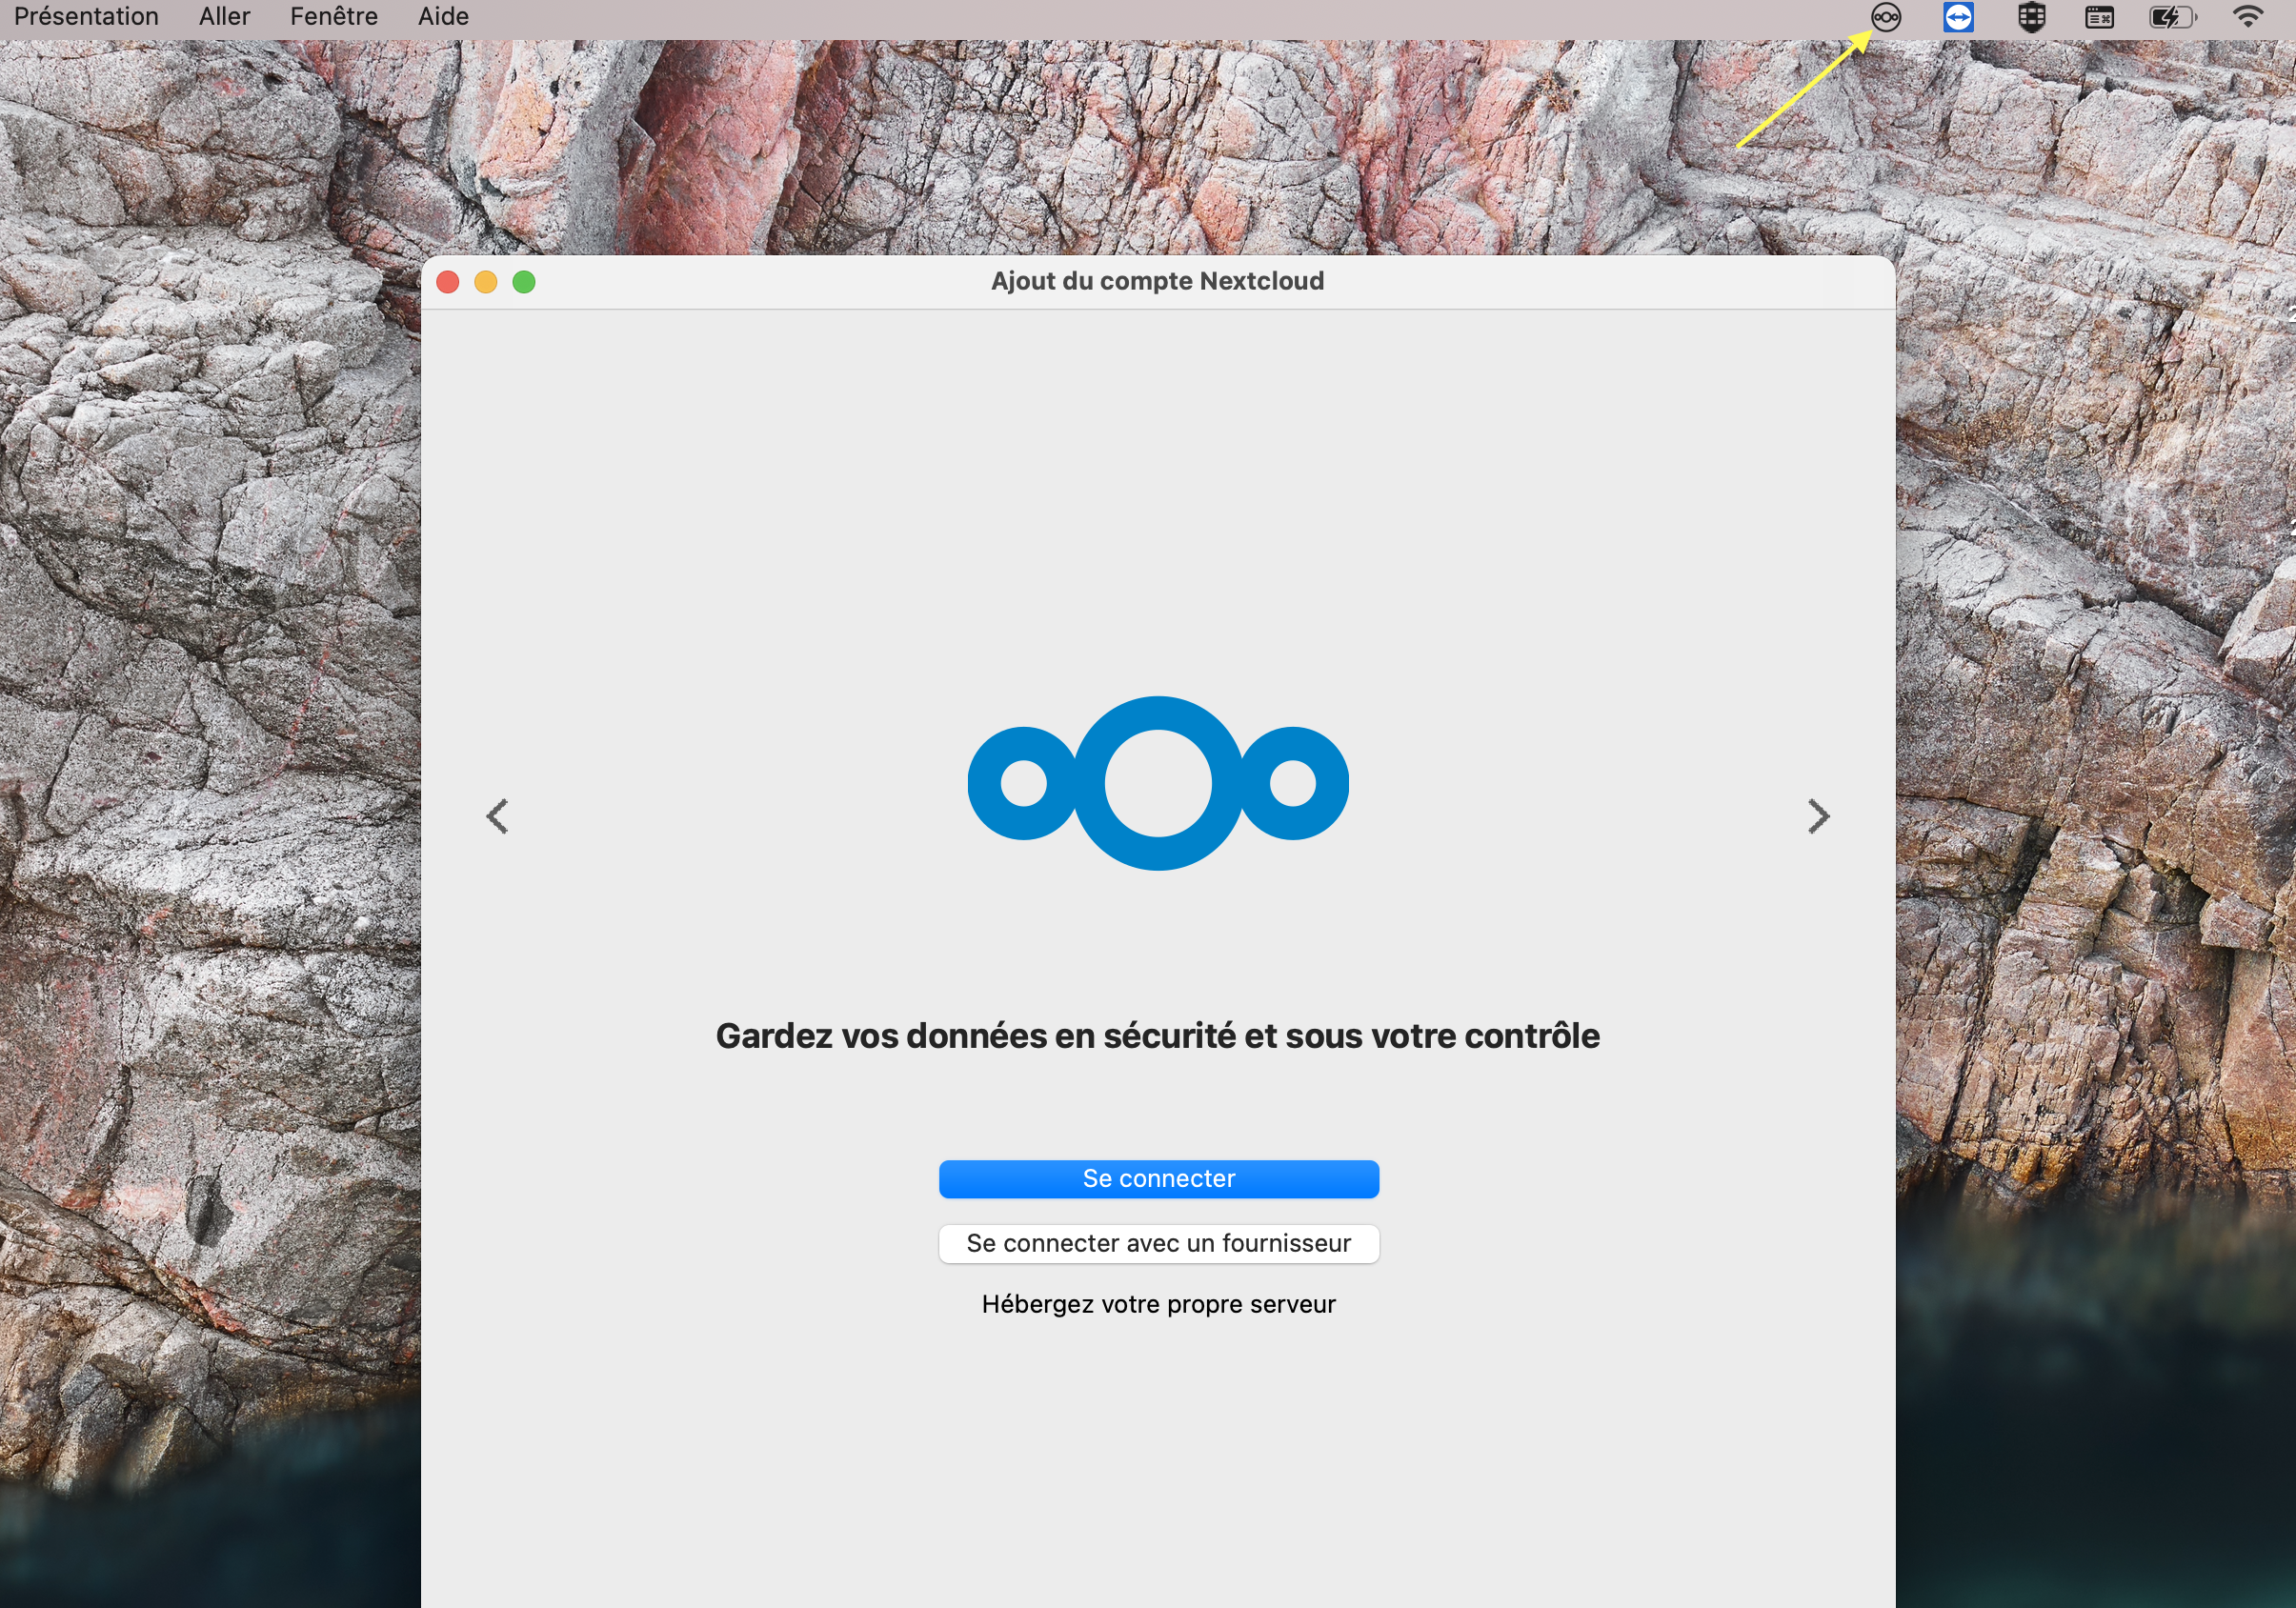
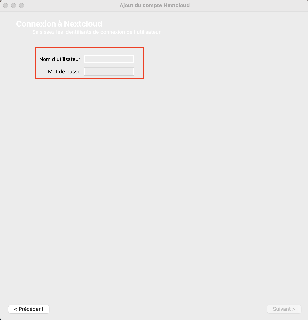
The server address to enter is : https://owncloud.dfinet.ch
You will then need to enter your login and password.
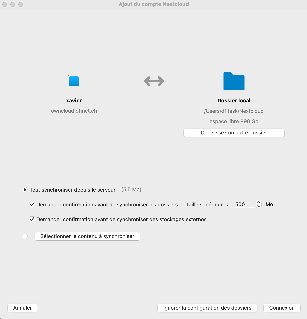
Once connected, you’ll be able to choose how to set up synchronization.
- “Use virtual files instead of downloading content immediately.” : Allows you to interact with files on your Nextcloud space without taking up space on your computer.
- “Synchronize everything from the server“: allows you to have the content present on your Nextcloud space also on your computer. (Warning: this option will use more memory on your disk)
- “Select content to synchronize“: Allows you to synchronize only selected folders in your Nextcloud space.
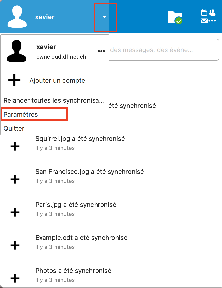
Once you’ve logged in to your account, you can open the NextCloud interface by clicking on the white arrow on a green background (accessible via the bar at the top of the screen).

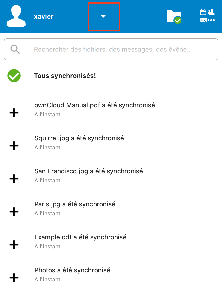
From this menu, you can view the folders currently synchronized, as well as go to the application settings.
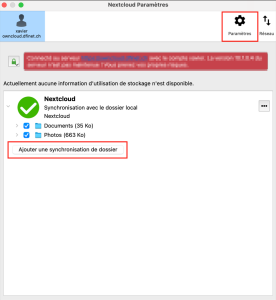
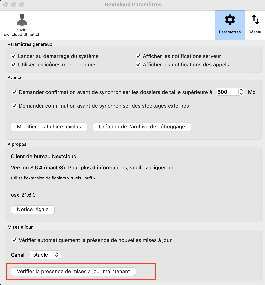
allowing you to add folders for synchronization or application updates.